

sotongfen
-
Content Count
35 -
Joined
-
Last visited
Posts posted by sotongfen
-
-
Can share your contractor details
")
-
Our Maison De Style Champêtre ~ Featuring our Home-Fix Adventure in our BATHROOMS!
In the next few posts, I shall talk about our ADVENTURE being our own contractor aka "Home-Fixers"! Which. We have managed to source, purchase and fix / install several new things in our Maison ourselves!


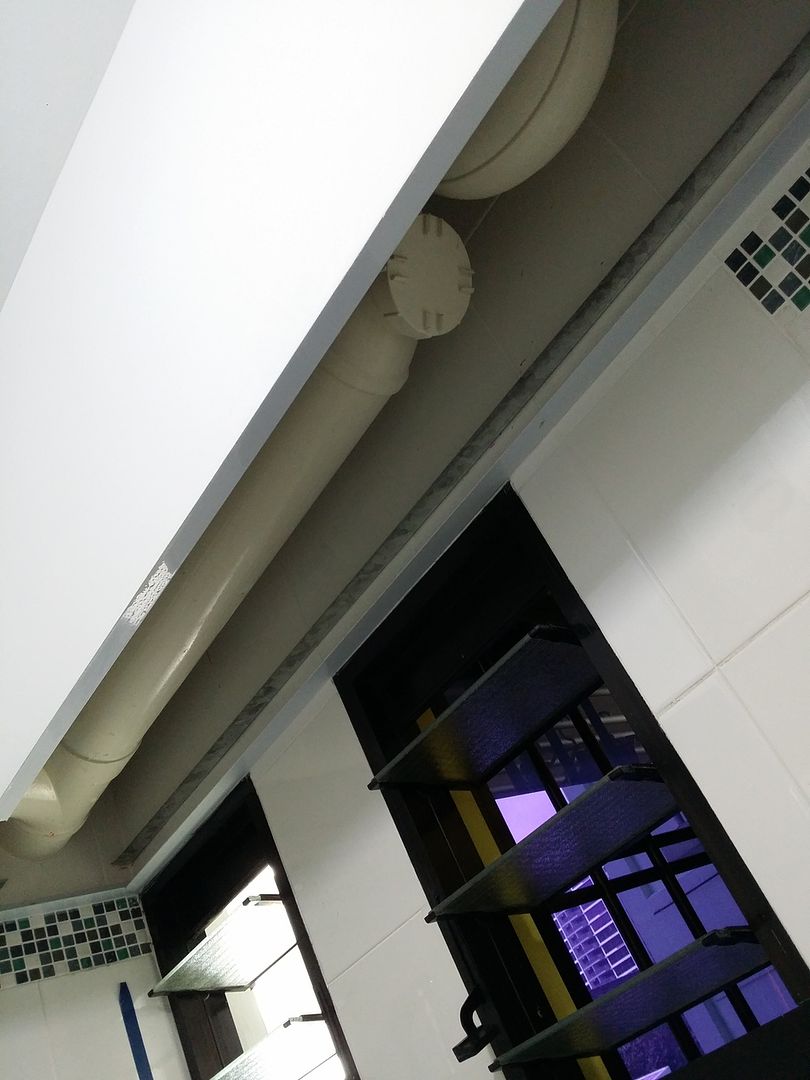
The first region to conquer - Our bathrooms! I bet most of us dislike the HDB panels which are installed at the top of our bathrooms meant to cover the huge water pipes. I always refer to them as 'checkered panels' because of the checks and gaps in the whole piece. Other than aesthetics, I can't imagine having insects (e.g. spiders) or mold growing underneath those checkered panels due to good shelter to the former, and condensation for the latter. It is therefore one of my must-do things for our house and it is to replace them......
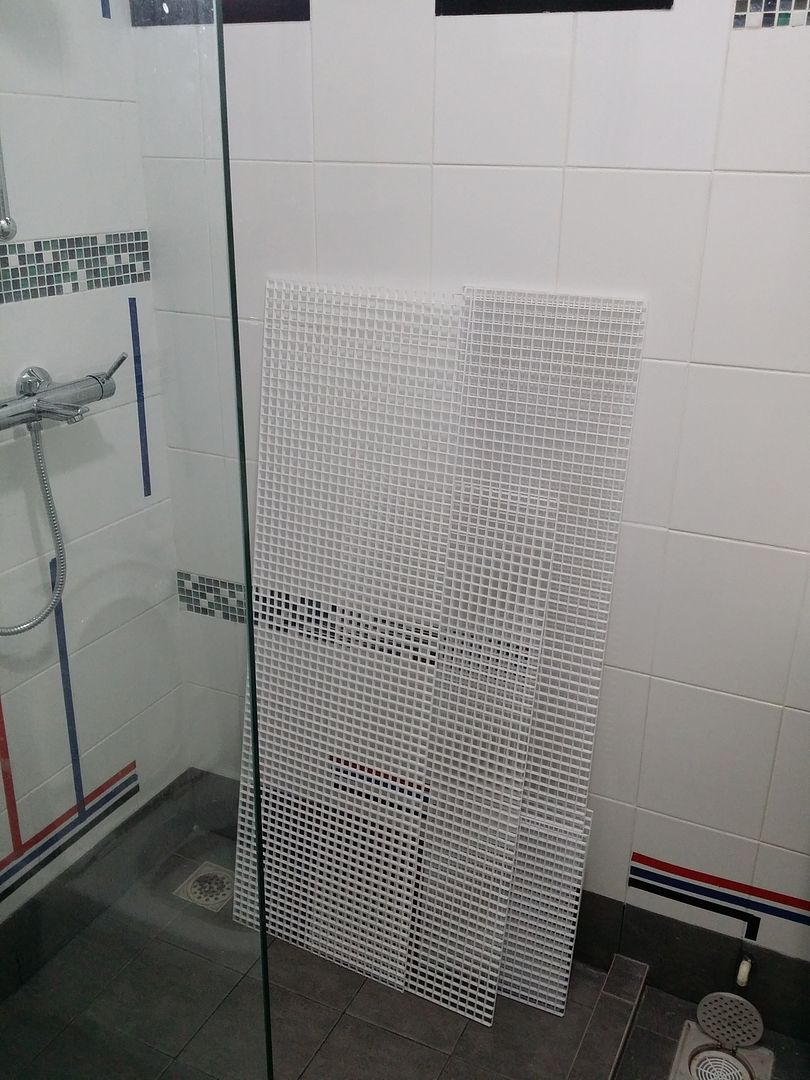
Seeing what some forumers had done to transform their HDB bathrooms, one of the key things removed in the transformation are these panels. And because I have two very valid reasons, the Hubby was convinced to go through much trouble to replace these checkered panels. We have asked around on the costings involved (including from my own Contractor J) and have eventually decided to Do-It-Yourself/Ourselves (DIY) to save costs! Thanks to the very kind people around, we managed to go directly to a company located at UBI Road to order and cut our own white acrylic panels to replace the checkered ones. Here is the process of how our First ADVENTURE as "Home-Fixers" went.....
Original checkered panels in our bathrooms


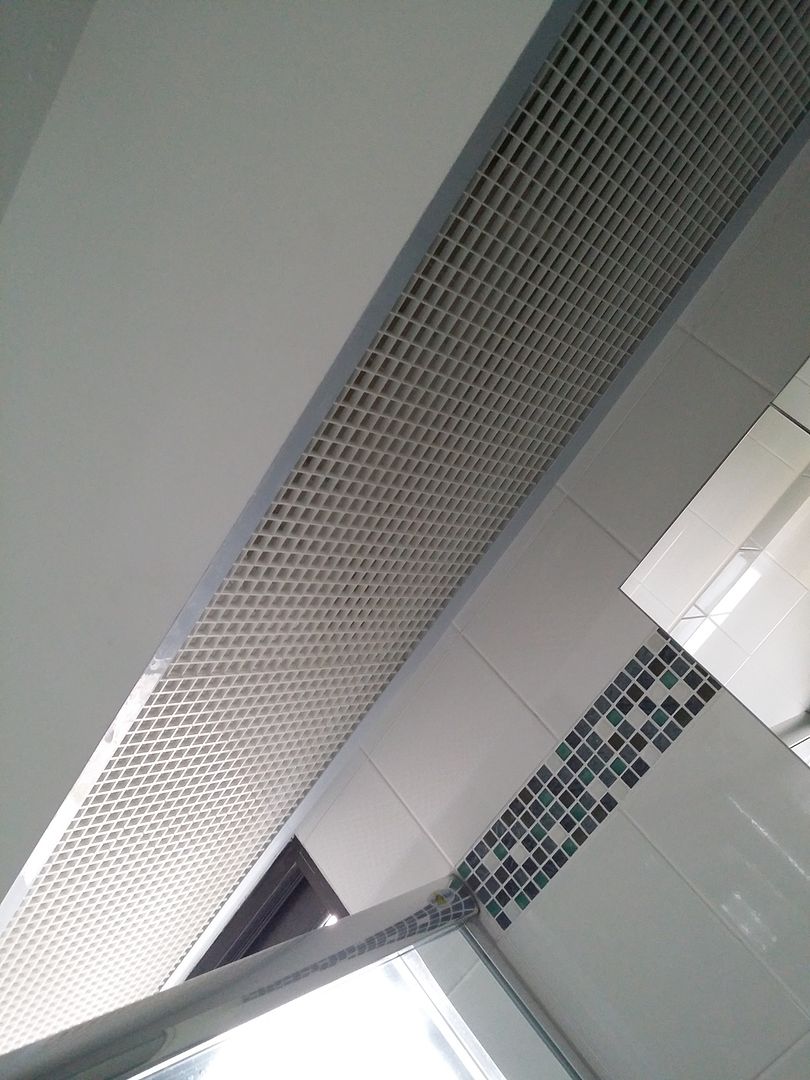
They gotta go ~
Initially, we had some difficulties removing these panels. Thanks to the neighbours in our estate's closed group in FB, who provided us solutions after we did a shout-out on How To Remove These Panels.
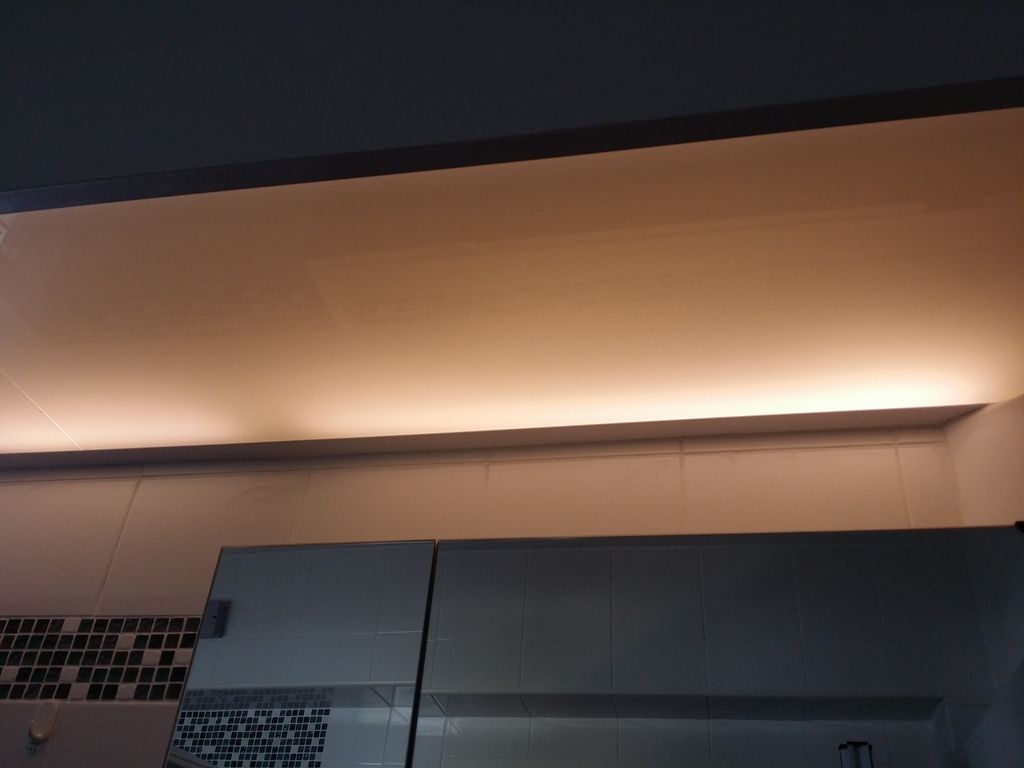
No more check-check-check-checkers!

Presenting the NEW & white acrylic panels in our bathrooms now!

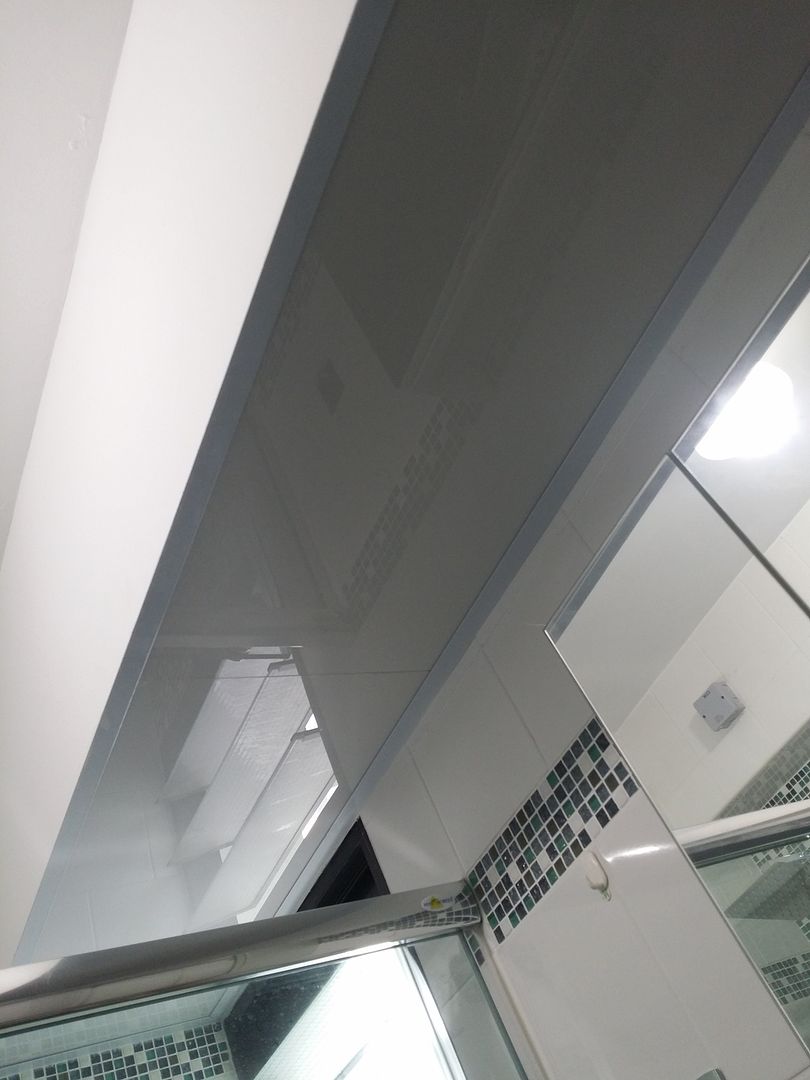
Warm T5 lights which make all the difference to our bathrooms
Our First ADVENTURE as "Home-Fixers" was exciting
 although it took us a whole lot of trouble to get the panels replaced. One pointer to note, For You who are keen to order and fix up such acrylic panels yourself - Do remember to bring along HDB original checkered panels for the store to do accurate measurements and cut accordingly. We had initially done our own measurements and provided them to the store to cut our acrylic panels. Ended up, the panels could not fit as it requires slightly smaller measurements than the original ones. We had to make 2 trips to get the acrylics settled and paid 2 times of cutting costs (they charged by per session). Not to mention that the acrylic panels are long and we had a hard time fitting them into our car. Boo~ Oh well, the acrylic panels have finally settled down and we have definitely gained some knowledge along the way! Minor hiccups will not discourage the "Home-Fixers"! Hehehe....More adventures to come!
 The "Home-Fixers" would also like to share with you a useful tip related to the bathroom! Especially to the ladies, the packet of Drain Hair Catching Sheet below may be very useful for its self-explanatory purpose! I realised that the drainage trap provided by HDB seems to have smaller holes and it only takes 2 showers for my hair to clog up all the trap holes and water cannot flow through (not that I'm dropping a lot of hair). It can get rather frustrating having to clear those strands of hair so frequently

I was shopping one day when I found these hair catching sheets! You only have to paste the sheet over the drainage trap (one side is adhesive) and hair and/or dirt will collect on the sheet itself. Next thing you do, remove the sheet and throw everything away with great ease! I simply love such 'technology' to save me much effort and each packet of the catching sheet costs only $1.50
*Parfait ~ *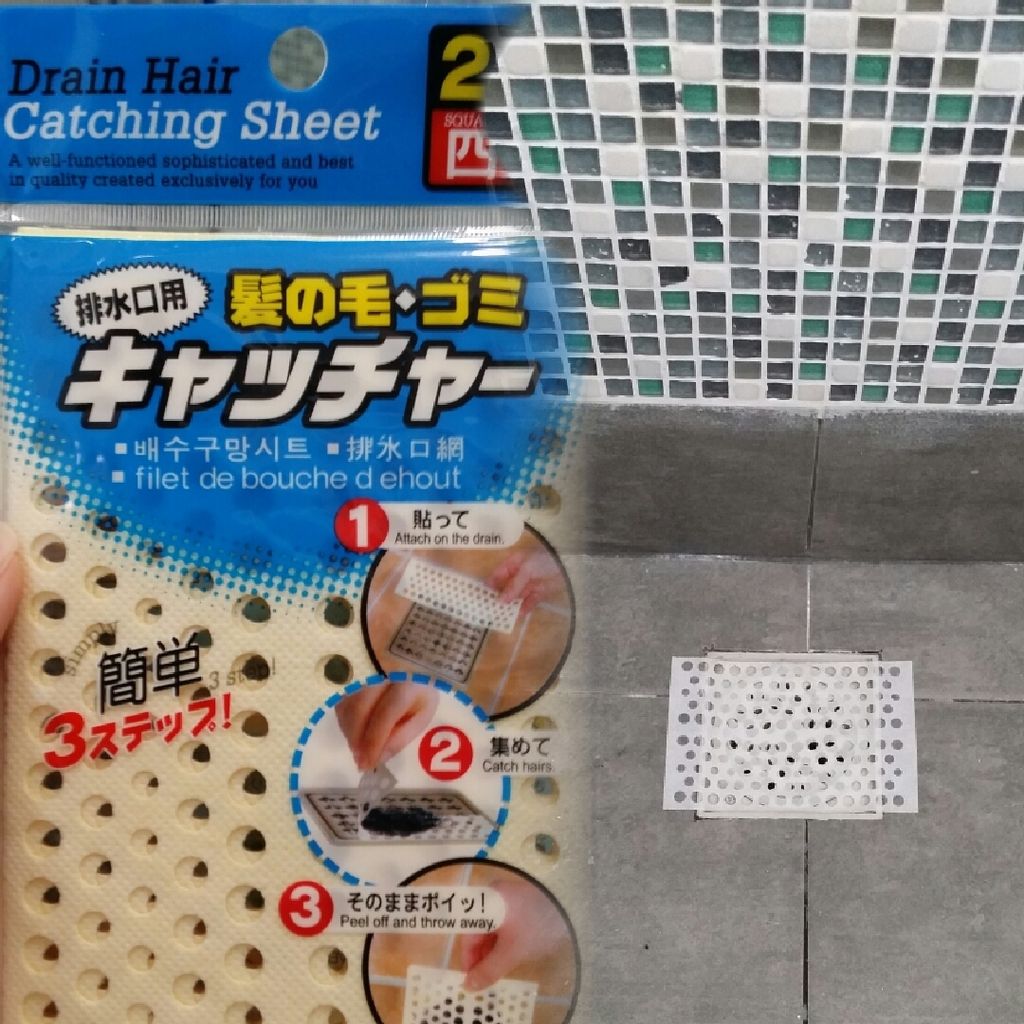 hi Country Glow,Regarding the acrylic panel, can you share the steps/video on the removal/replacing the existing panel with acrylic panel.previously when tried to remove the panels to install the cove lighting, we got several cuts on hands and it was a terrible experience :S
 -
hi hi,
ur deco is so nice
may I know where you get the white acrylic panels for the bathroom and how much does it cost?
i am interested to DIY for my bathrooms also..
-
nice house
cozy
-
Yup, top-up for internal coloured laminate.
co does not charge GST - design profession @ TPY. My ID is Kelvin Foo
-
im back
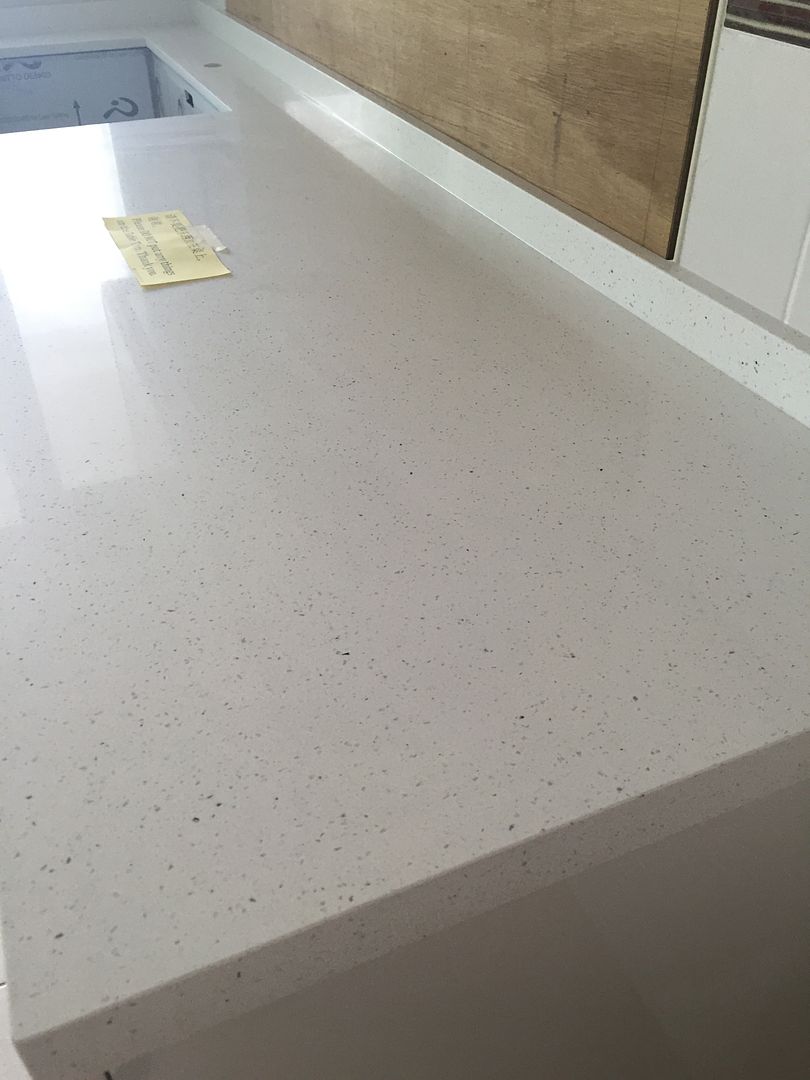
last sat went back and saw there are two guys installing the quartz top
Tada - here is my snow white and I'm 100% satisfied with this choice
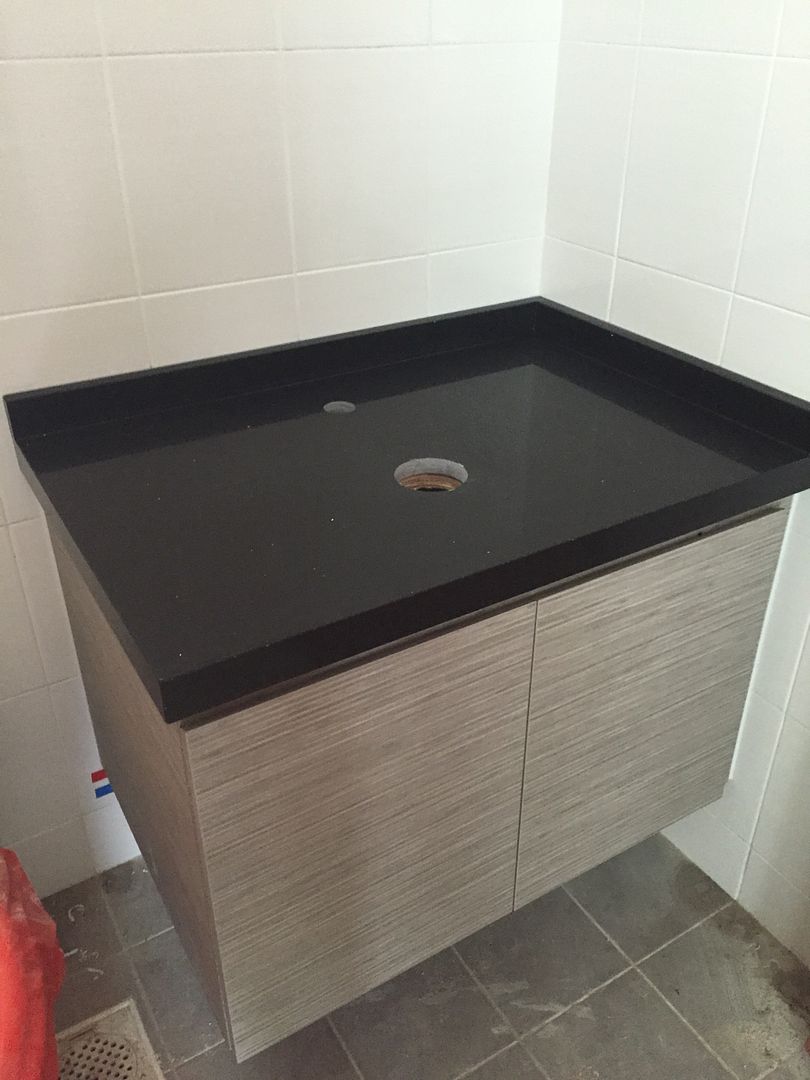
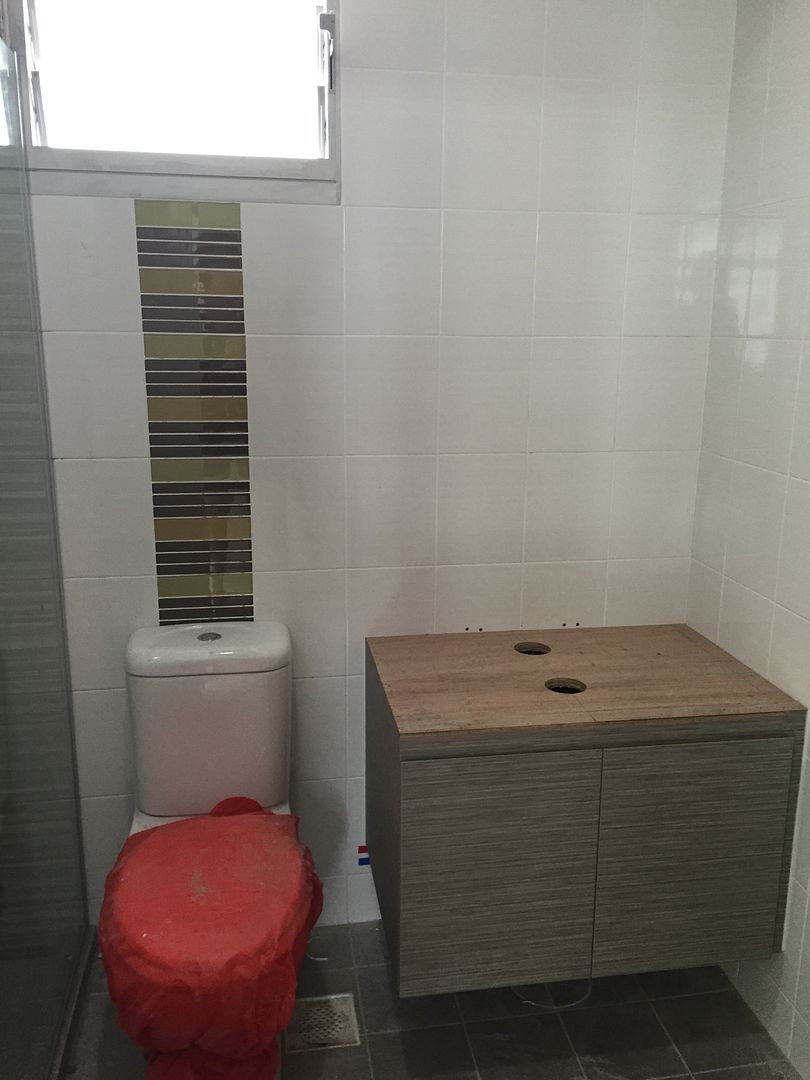
Toilet vanity comes with black quartz top
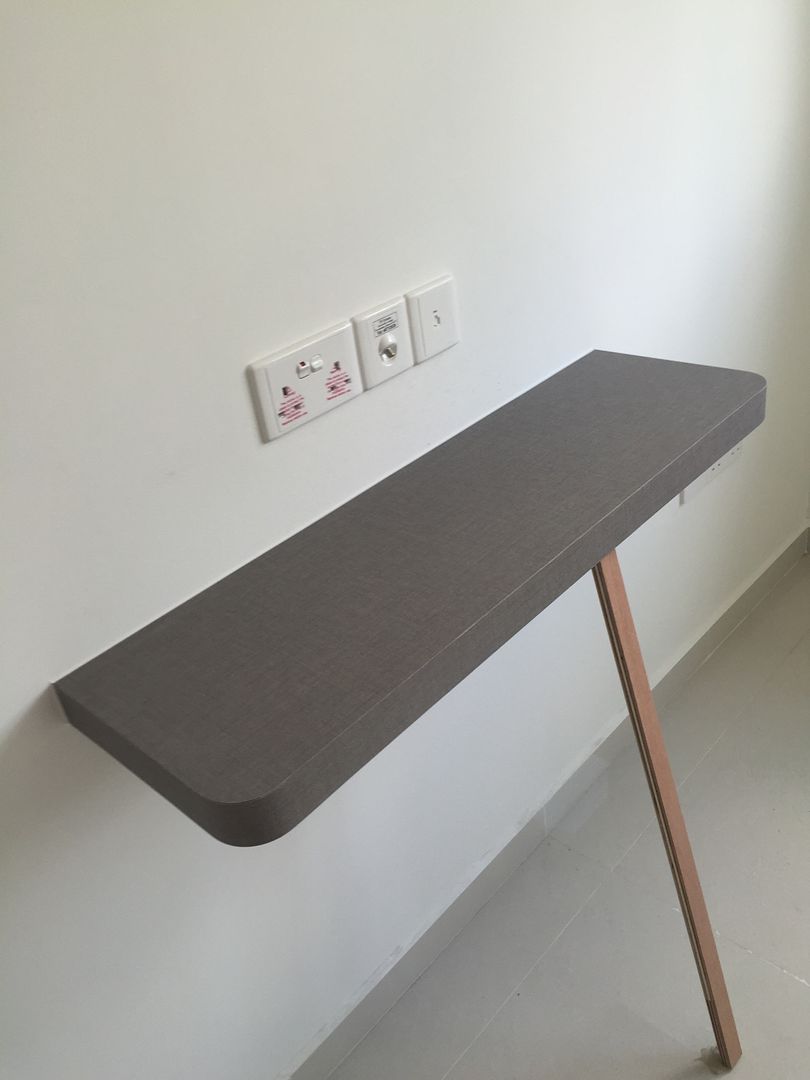
Added a small plank in MBR so that we can place our player & have movie date in MBR
Last but not least - my brick wall! Just installed yesterday and thanks to my ID for this beautiful photo. Can't wait to go back this sat to see the wall with my own eyes.

-
hi
nice place and love your tb loot
can share the link for the wooden shelving (below the telephone booth design) as well as the prince & princess poster/paint?
thank you
-
agreed with @kyooko ... love that too
@peachpokka i not sure with the laminate code cos everything decide by my ID as we have pretty lousy design sense
i will ask my ID n let you know
-
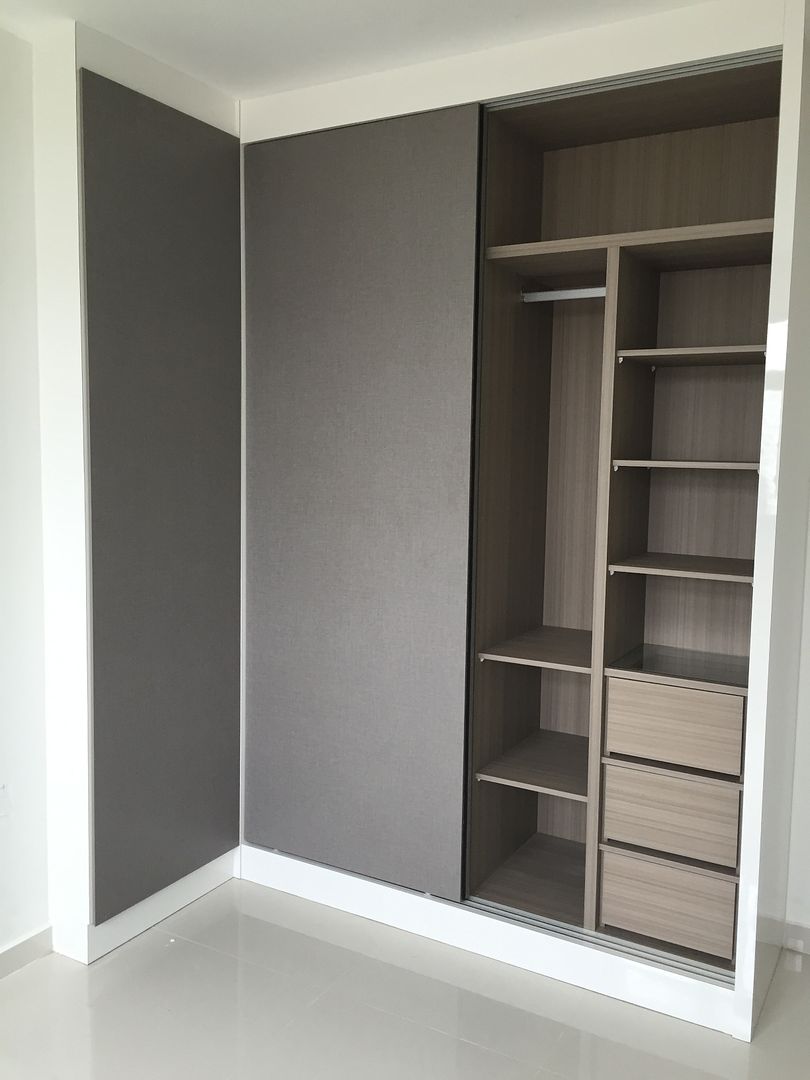
MBR Wardrobe
Customize vanity cupboard is up too. Cant wait to see my pretty sink and waterfall tap to be up. Going to be the first person to use them
Guestroom Wardrobe. The color really blend well with the wall color (lily)
Pull-out mirror
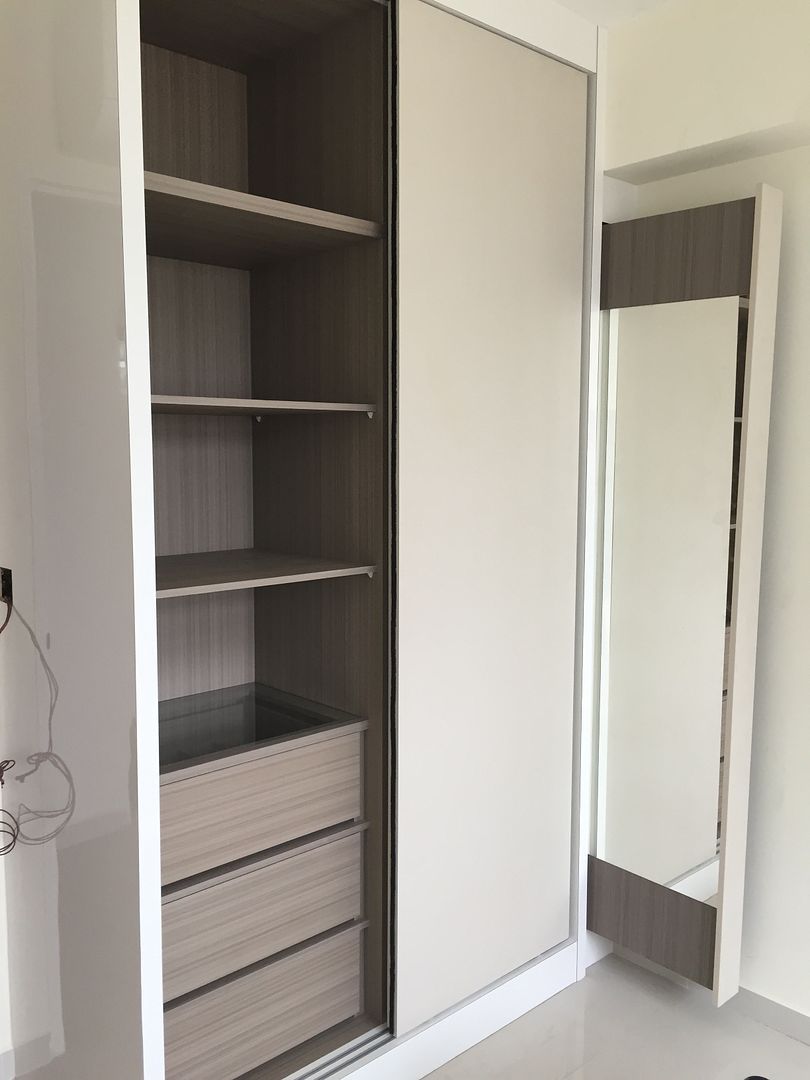
No complain over the workmanship except some minor touch-up which my ID will help to rectify.
So far, been working well with my ID. Prompt reply whenever we whatsapp him and so far everything is going well. Hope our honey home will be ready soon & will provide more feedback on my reno & ID service
-
Went back on last Saturday and so happy to see my carpentry is up !
Here are some pic taken to share with the reno-friends
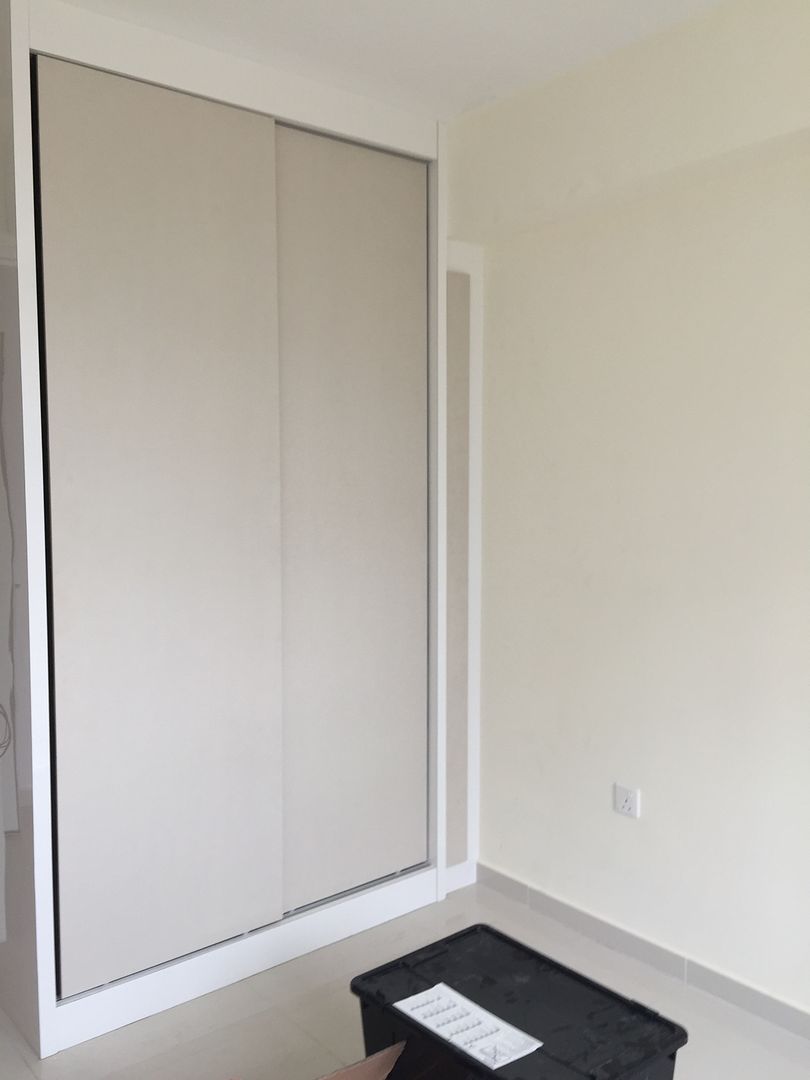
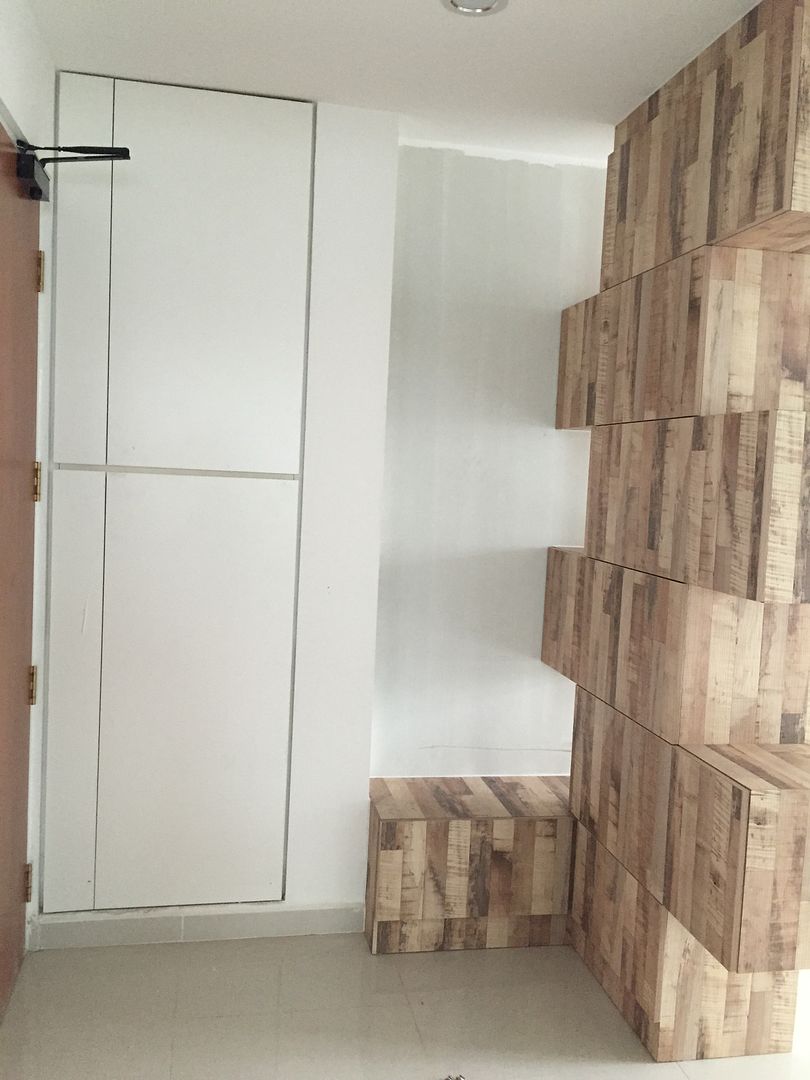
My customize cupboard at the foyer.. For FengShui reason, we decided to have this up and the bottom cabinets can use to put our pretties smelly shoes
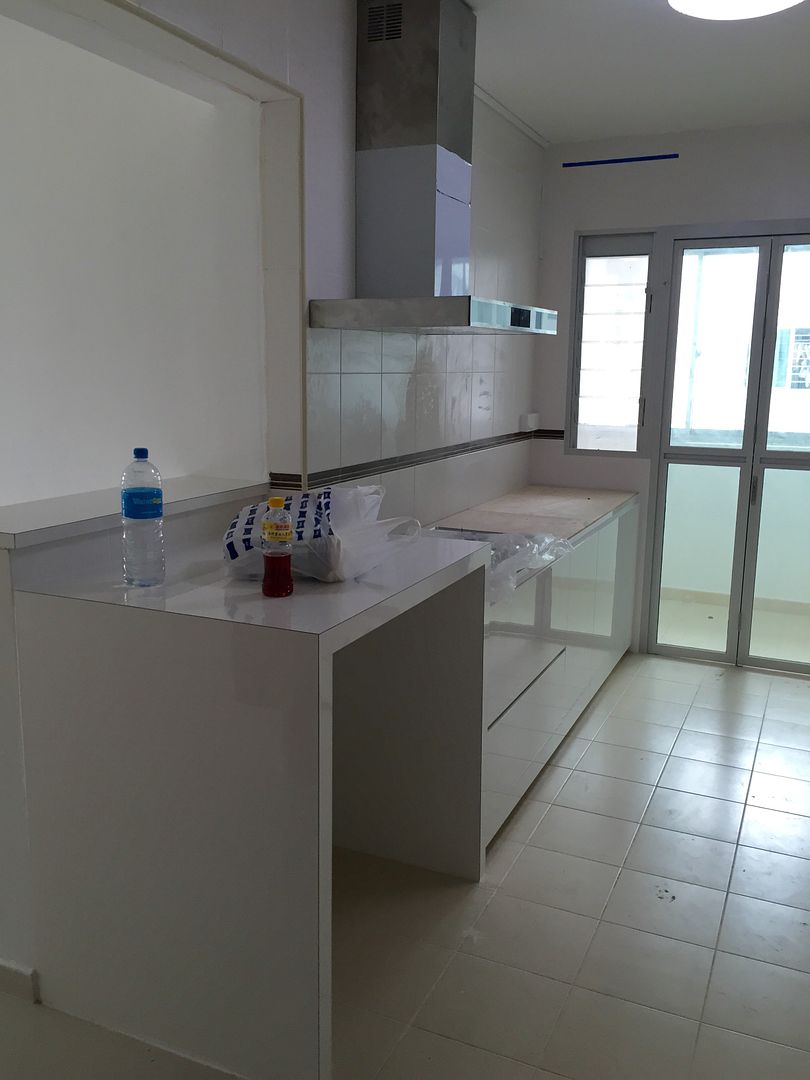
Our kitchen which we only opt for top cabinets on the other side only. Really love our hob & hood
A view from living room and the man in the pic is my hubby
 In front of him is our mini bar top which is good for quick breakfast or ice cream feast during hot days.
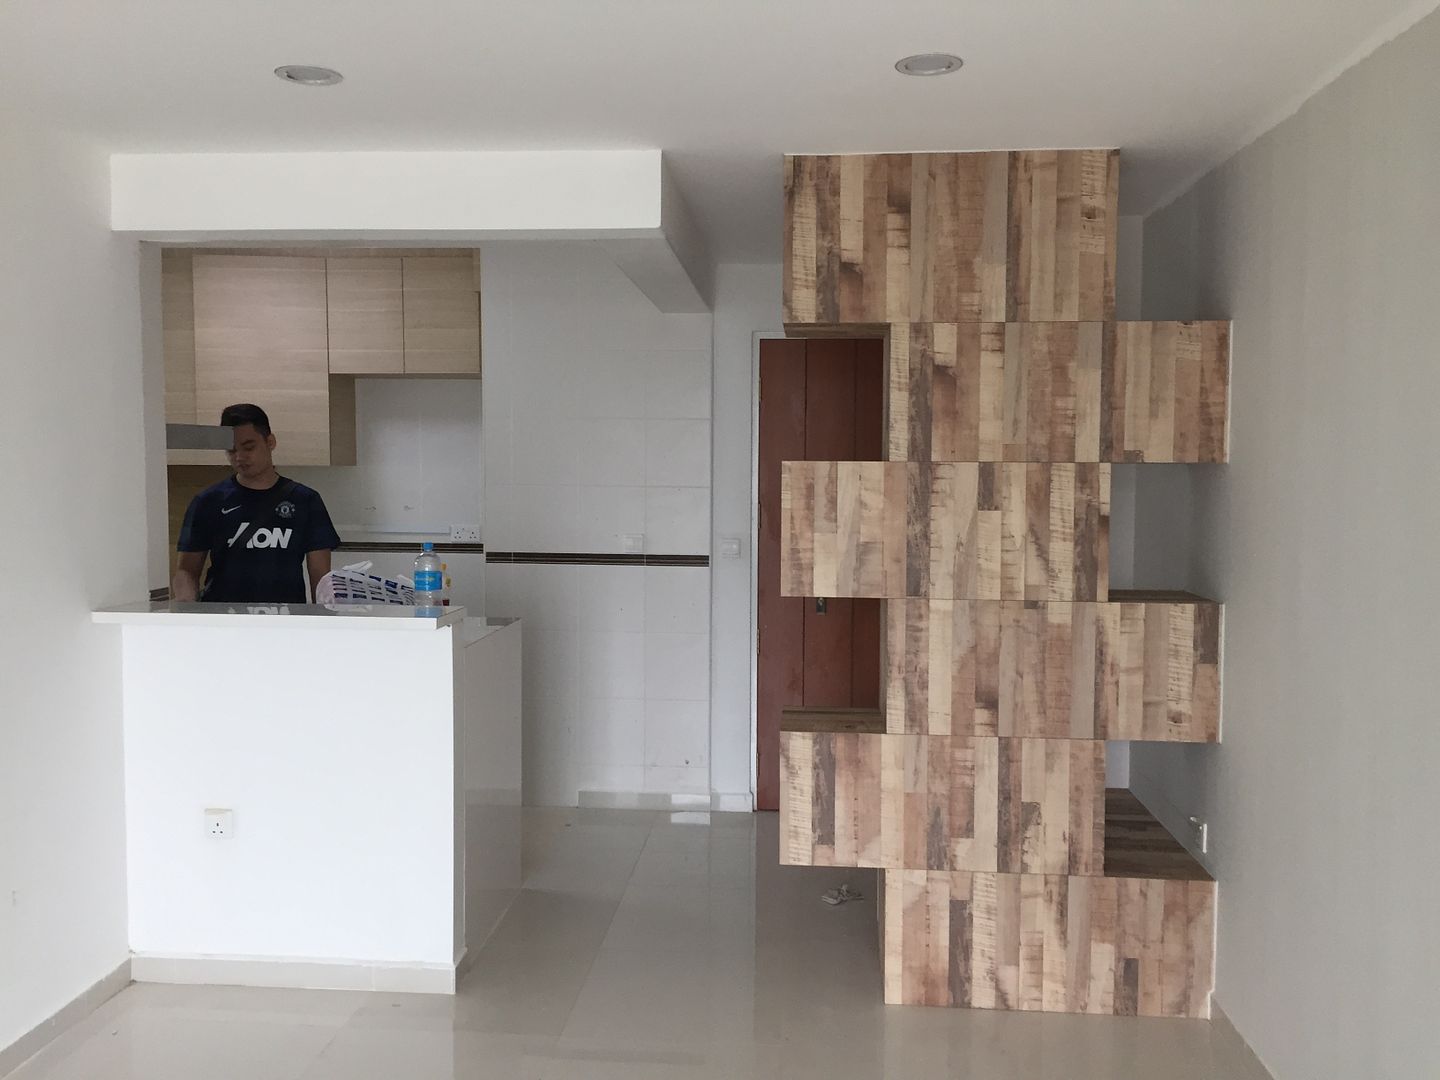
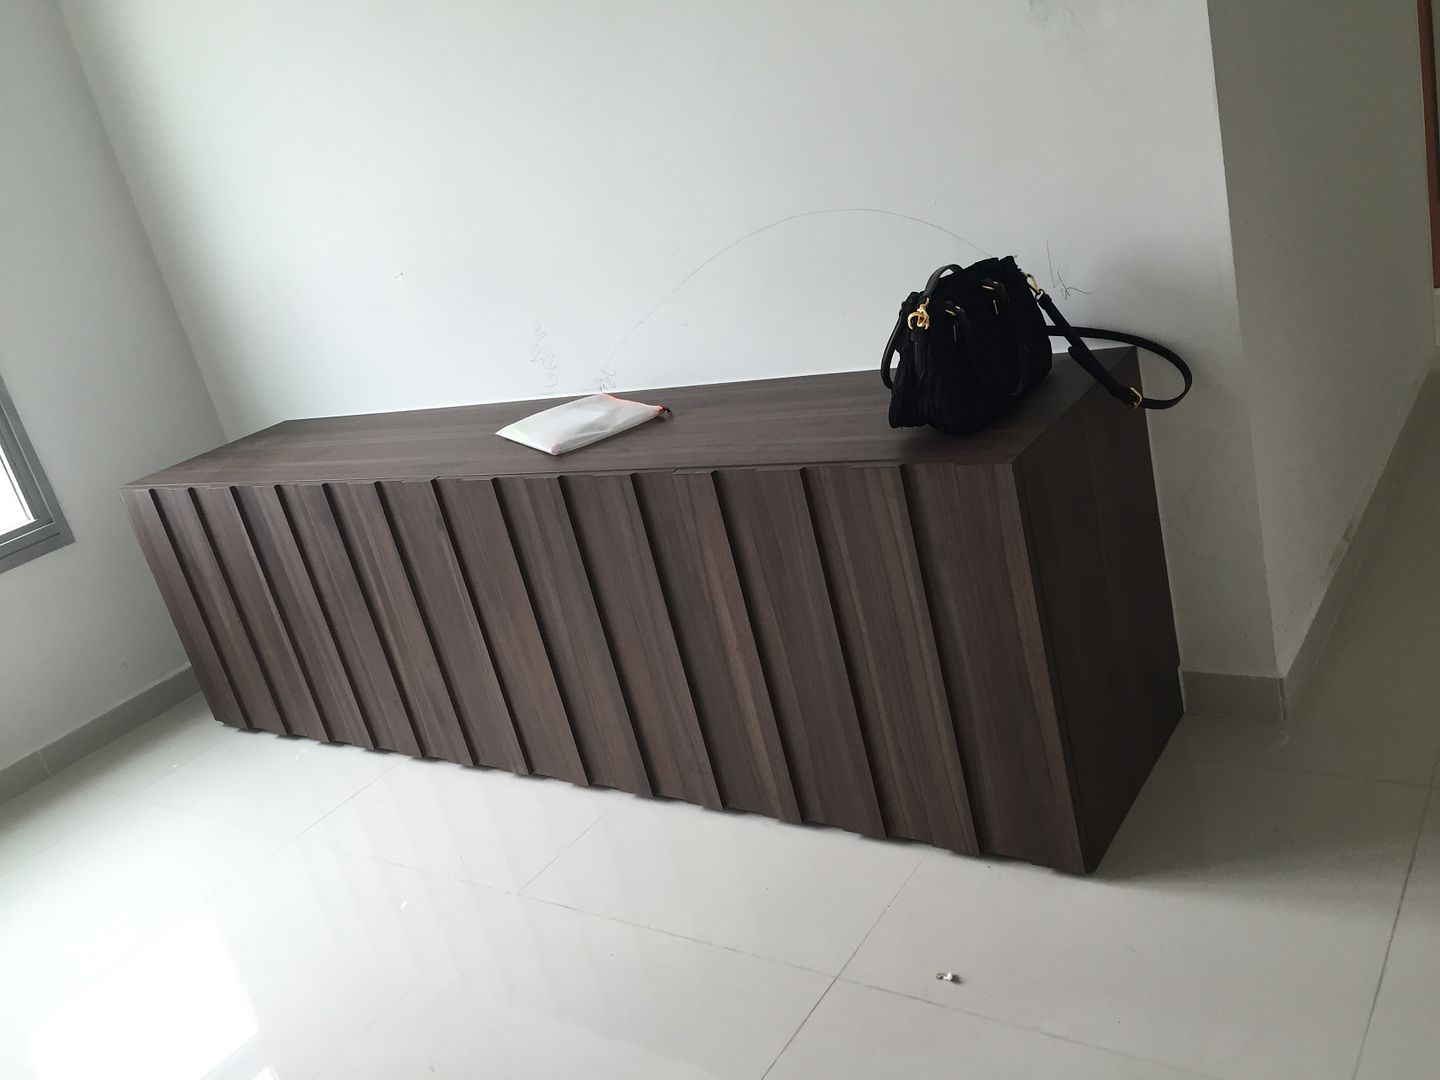
Customize tv console. Opt for walnut color to match with our dining table legs.
-
Brand New - come with proper packaging
Letting go at SGD100
Collection at AMK or Punggol
Drop me email if interested tlimz1988@gmail.com
-
Bump
Letting go at SGD600
-
hihi
amaze with your tb purchase
can share the link for following items? thank in advance
1) tv conosle
2) pastel dustbin
3) smiley tissue box
4) wood stool
-
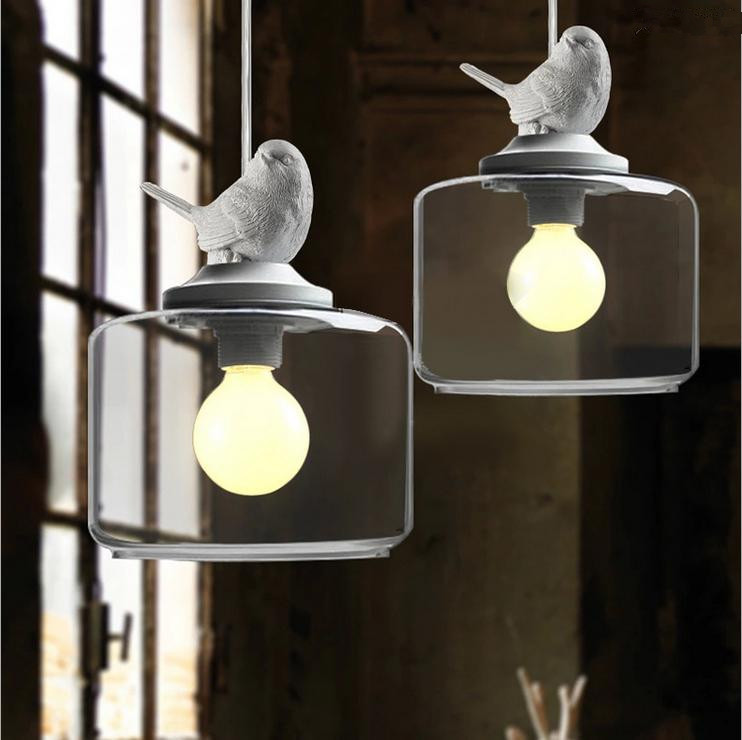
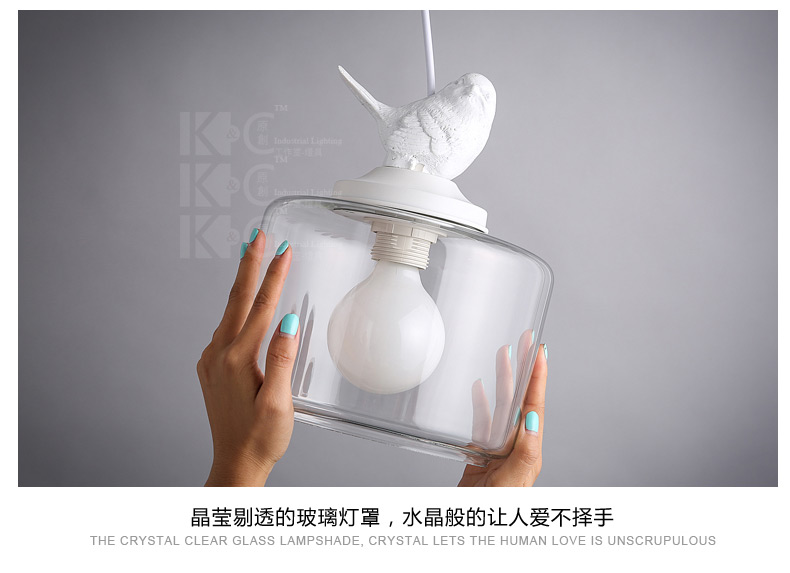
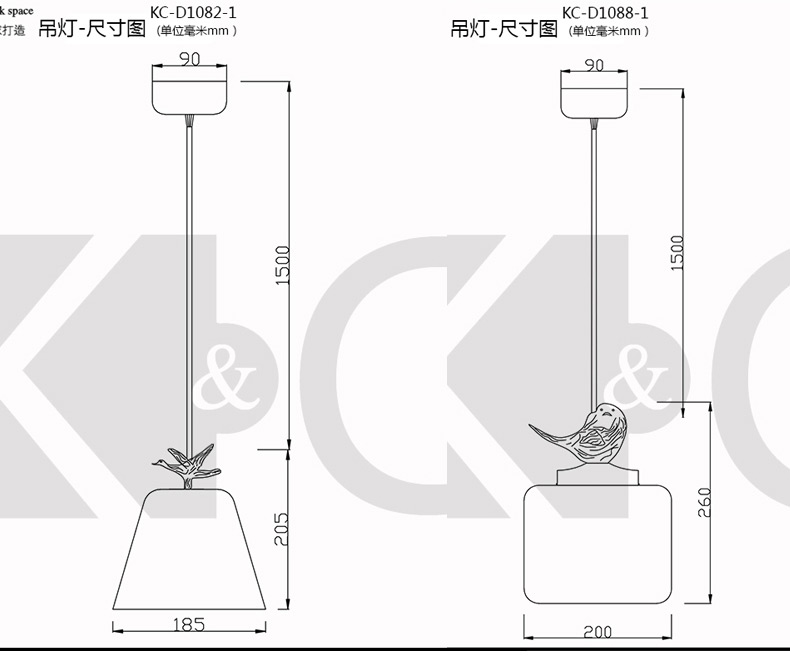
Visited our house last Sat and happy to see all the lighting is up
Simple and nice

After that, spent the rest of the day shopping for our house furniture.
Went to OM -> Comfort Design -> Cellini
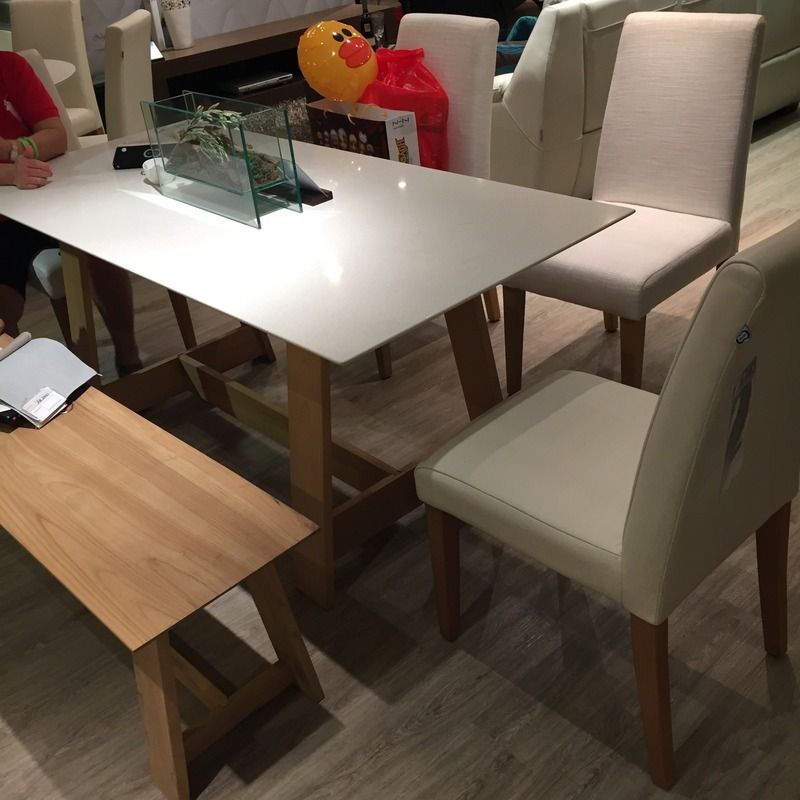
Only managed to settle for our dining table which is from Cellini - DS 182-01 – W1300 x D800 x H750
Love it to the max since Day 1... Although it pricey but I believe the quality worth it. The only down side was the manufacturer no longer provide light wood color as shown in the photo. Hence, have to go with walnut color and pray that it will be nice

http://www.cellini.com.sg/wp-content/files_mf/1411585985Shot4__088editclr.jpg
Now our next worry is our sofa which can only go up to 2.1m.
Hope can find one that suits our house and preferably leather for easy maintenance.
-
hihi,
We stay at same area & has the same ID
;D
Nice reno and look forward to see more updates from you
-
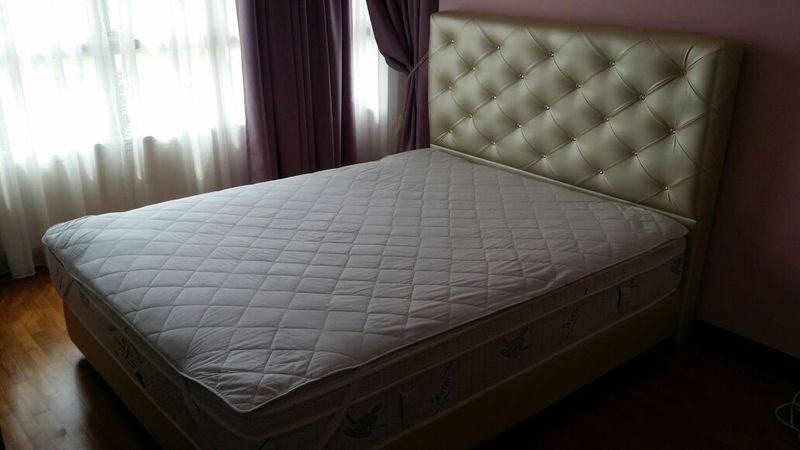
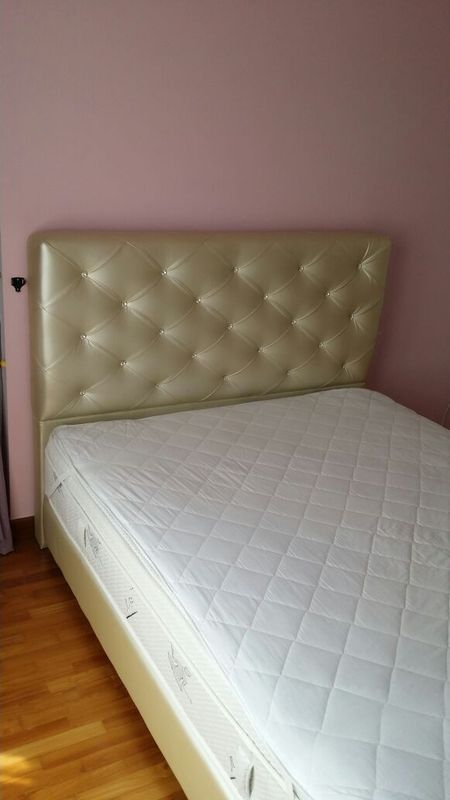
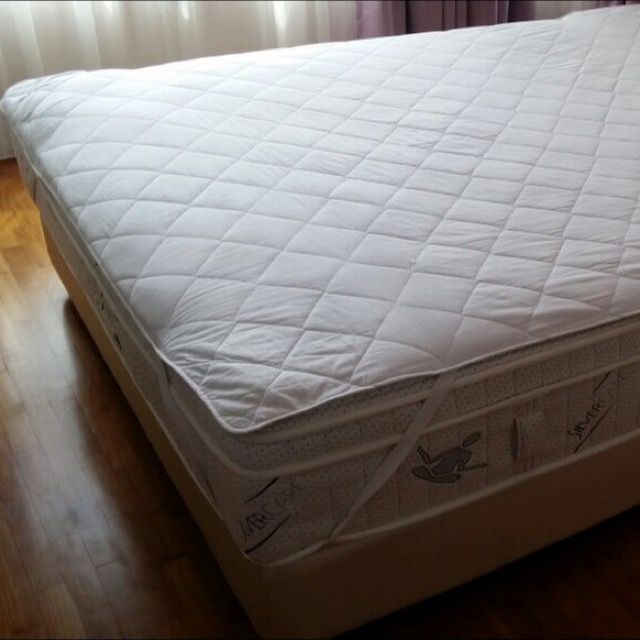
Maxcoil Pedicare 3 queen size mattress with bed frame - Full set as shown in below photos
Letting go at SGD800
Purchased in Feb 2012
Condition 7/10 as we been using mattress protector since day 1
Welcome site viewing for interested party
Called retail shop and it is selling @ SGD2.5K
Please arrange own mover to relocate the bed
-
Shared some of my purchases for kitchen

Brandt Model:TG1273X
stainless steel hob - 3 burners as requested by MIL

Brandt Model:AD658XC1
As not going to do upper cabinet for cooking area, selected chimney hood

Blanco Zerox 700-U
initially wish to grab double bowl but double bowl is at least 80cm which will be too big for my kitchen cabinet. Hence, go with this and grabbed below basket

For fridge & washing machine -> FOC
My brother is selling off his flat and will "kapo" these two expensive items over
-
saw u got a small tv console from TB as well?
can share the link and how does it feel like?
TIA
-
love the sofa!
can share the shop you got your sofa and how much u paid for it?
thanks
-
Hi All,
been silent reader for a long time and would like to give thank all renotalk members for sharing so many tips & experience which helped me alot for my renovation preparation. As a typical Singaporean aka Kiasu, I had started looking for ID few months before my key collection. There are few IDs either pushy or totally no follow-up after budgetary quote and they really turn me off! Anyway, it will be unfair to give further comments on those rejected IDs since my reno budget only 25K which might be a peanut to some.
Jump straight to my renovation Journey:
- A typical 4-room Home Sweet Home located at Punggol. I had opt in for HDB flooring & door to save cash for renovation but kind of regret as the flooring workmanship CMI!
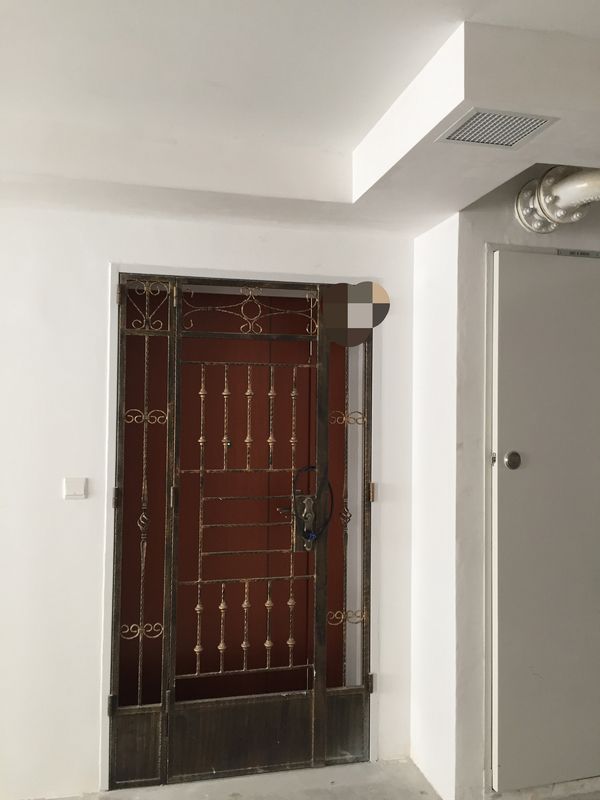
There are water pipes running above my home entrance and previously EXPOSED! After "complaining" to HDB, they had box up and now it looks pretty decent

HDB tiling with wooden skirting. The workmanship CMI
- Sealed my renovation contract with my ID in Dec'14 but only started work in Apr'15. Key collection was delayed till Jan'15 and since our ID was unable to get the house done before our wedding in mid Mar'15, we decided to start reno after our honeymoon. Our theme is "Scandinavian" and as mention earlier that our budget only 25K, hence we will not be able to go for "extensive" renovation with this little budget. For basic renovation such as construction of kerbs, installation of accessories/lighting & built-in wardrobe etc, I will save my breathe and not going into details. There are major highlights for my home sweet home:
*Hack half kitchen wall to create open kitchen concept
*Brick wall as TV feature wall
*Unique shoe cabinet upon main door entrance
- Just went back last saturday and renovation only 20% complete since I told my ID to take his time as I can only move in after July.
1) Aircon installed -> Mitsubishi Starmax system 3 @ SGD2800.
2) Kitchen wall already hacked half off
3) Kerb done
4) First cost of painting done
3) Had my carpentry measured on the same day and I believe it will be up in 2-3 weeks times
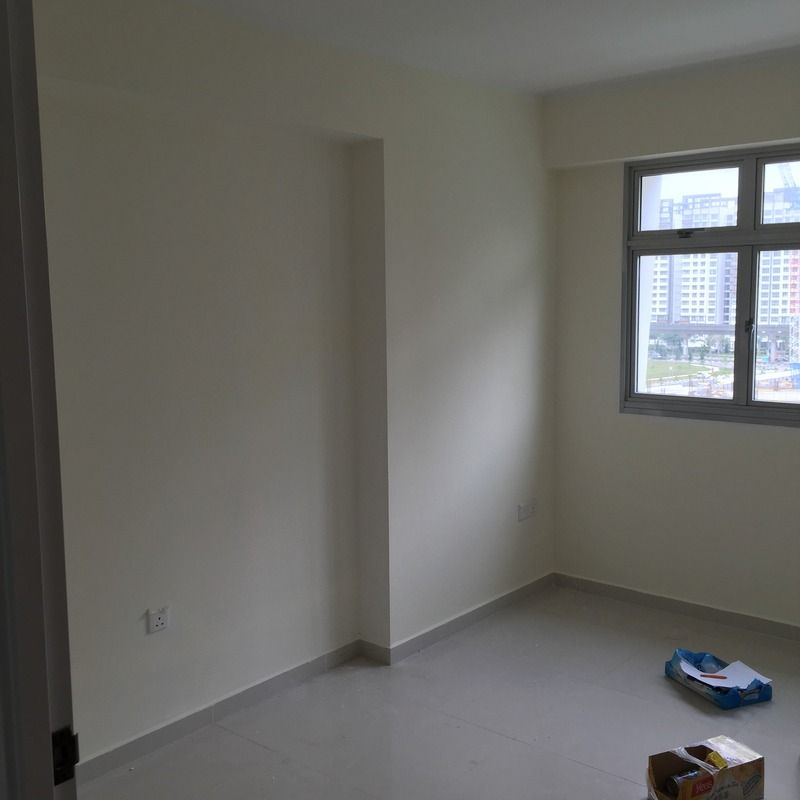
Guest room. If you can notice, I had changed my wooden skirting to tile skirting. As mention earlier, the wooden skirting CMI and there were gaps in between for my whole flat. To prevent any "unwanted friends" to hid inside the gaps, I believe this change is the best option!
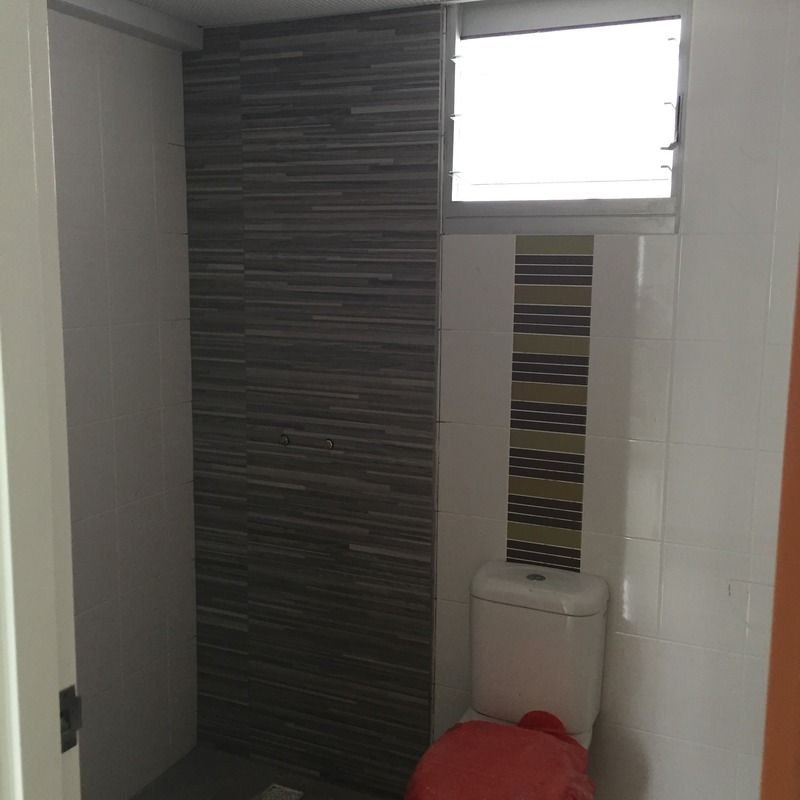
Too expensive to overlay the whole toilet @ MBR. Hence only did for the back wall of the shower point :S Hope can achieve a bit of cosy feeling @ MBR toilet after installing the customize vanity
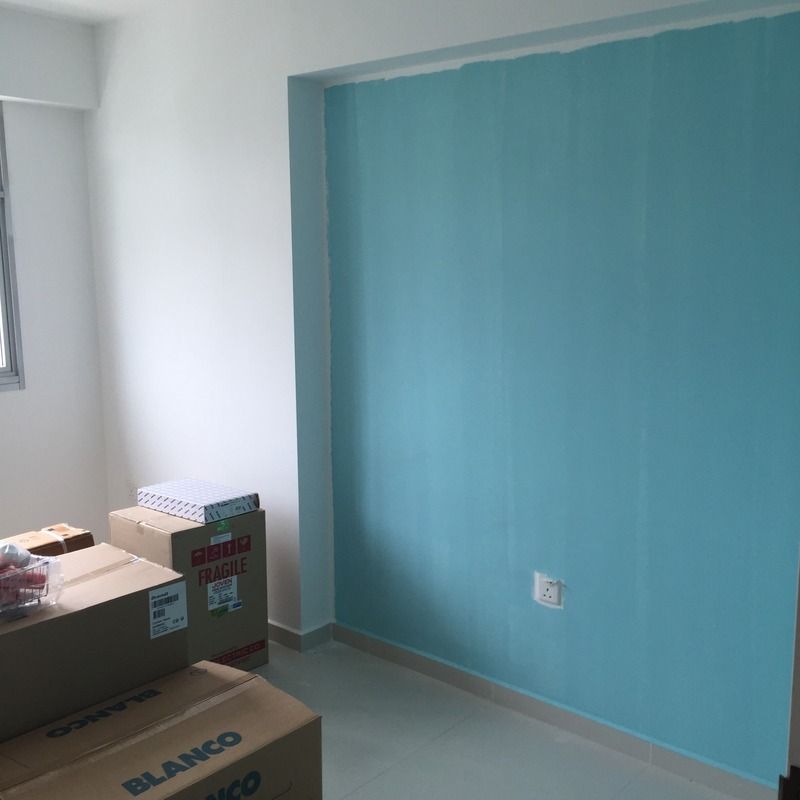
Wohoo tiffany color for my entertainment room! Love it to the max! Going to decorate the room ourselves!
Half of my kitchen wall hacked off to make space for my shoe cabinets.
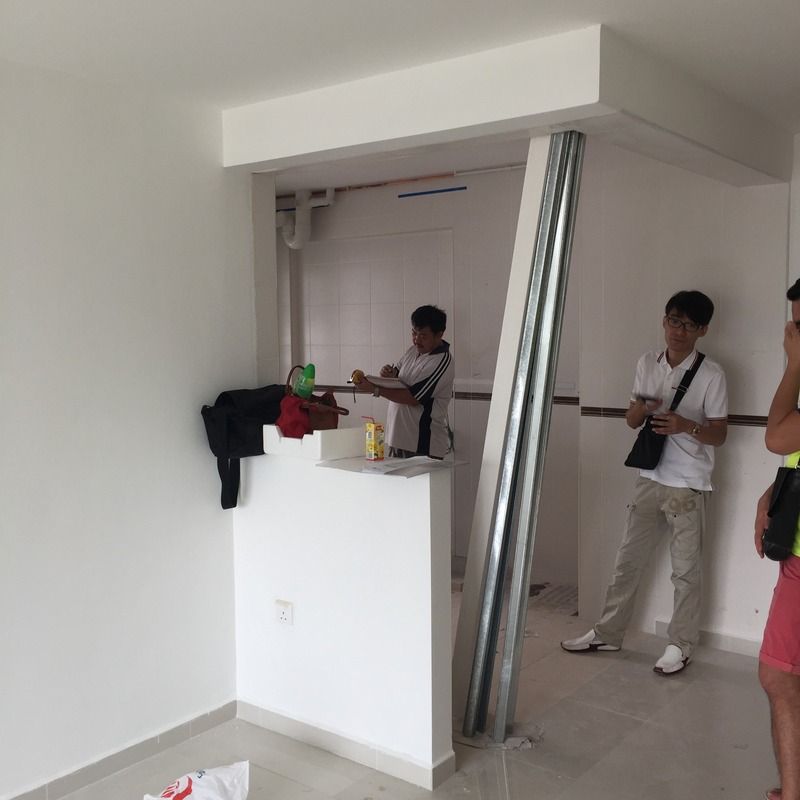
The one in spec is my ID who talk very fast & non-stop! Muahaha so mean of me. But i need to salute him cos he is very patience with a flicker minded owner -> ME! In the kitchen is the carpenter taking care of all my house carpentry. Humble guy who gave lot of advises about the carpentry design
More to go and will be back for more updates
-
HI ,
Can PM me UBS contact and your quote?
thanksssss
-
Hi Sandy,
Wow... wat a colorul house you have... so cheerful
possible to share the quote with me and any review on the workmanship for the carpentry?
thanks
-
hi lemoncandy,
Can share Mr.K contact with me?
Will it be too earlier for me to contact him now if my key collection is in Sep'14?
-
hi,
Love your house design.. cosy feel!!
Can you share with me your ID contacts and quote? many tanks!


HDB Renovation Advice
in Renovation Contractors, Interior Designers & Suppliers Reviews
Posted
hi can share your ID contact?